A Step-by-Step Guide to Sublimation Printing for Beginners


Sublimation printing is a popular technique for transferring designs onto various materials, such as fabric, ceramics, and metals. This method is perfect for creating custom apparel, personalized gifts, and promotional items. If you're new to sublimation printing, this step-by-step guide will help you get started.
Understanding Sublimation Printing
Sublimation printing involves transferring dye onto a material using heat. The process starts with a special sublimation ink, which is printed onto transfer paper. When heat and pressure are applied, the ink turns into a gas and permeates the material, creating a vibrant, durable image. This method is ideal for polyester fabrics and polymer-coated surfaces.
Essential Equipment and Materials
Before diving into sublimation printing, gather the necessary tools and materials. Here's what you'll need:
- Sublimation Printer: A specialized printer using sublimation ink.
- Sublimation Ink: Designed to turn into gas under heat.
- Transfer Paper: Special paper that holds the ink until transfer.
- Heat Press: Applies heat and pressure to transfer the design.
- Blanks: Items like t-shirts, mugs, or phone cases that are coated for sublimation.
Preparing Your Design
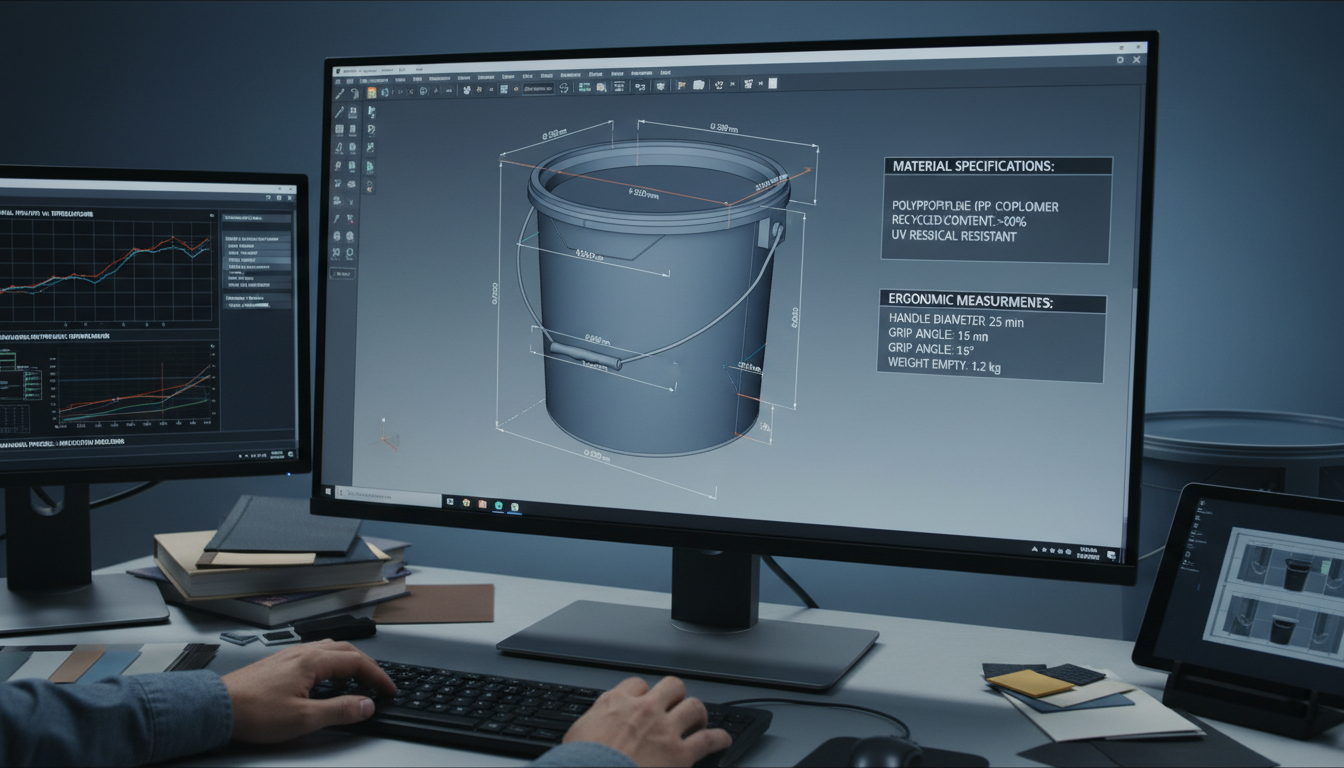
Creating a design is the first step in sublimation printing. Use graphic design software like Adobe Illustrator or Photoshop to create or edit your artwork. Ensure your design fits the dimensions of your chosen blank. Remember, the colors on your screen may differ slightly from the final print, so it's wise to test print your design first.
Printing the Design
Once your design is ready, print it on sublimation transfer paper using your sublimation printer. Make sure to mirror the image before printing, as it will appear reversed when transferred onto the material. Use the printer settings recommended for sublimation ink and paper to achieve the best results.
Transferring the Design
With your design printed, you're ready to transfer it onto your blank item. Here's how:
- Preheat the Heat Press: Set the appropriate temperature and time for your specific blank.
- Position the Design: Place the printed transfer paper on the blank, ensuring it's correctly aligned.
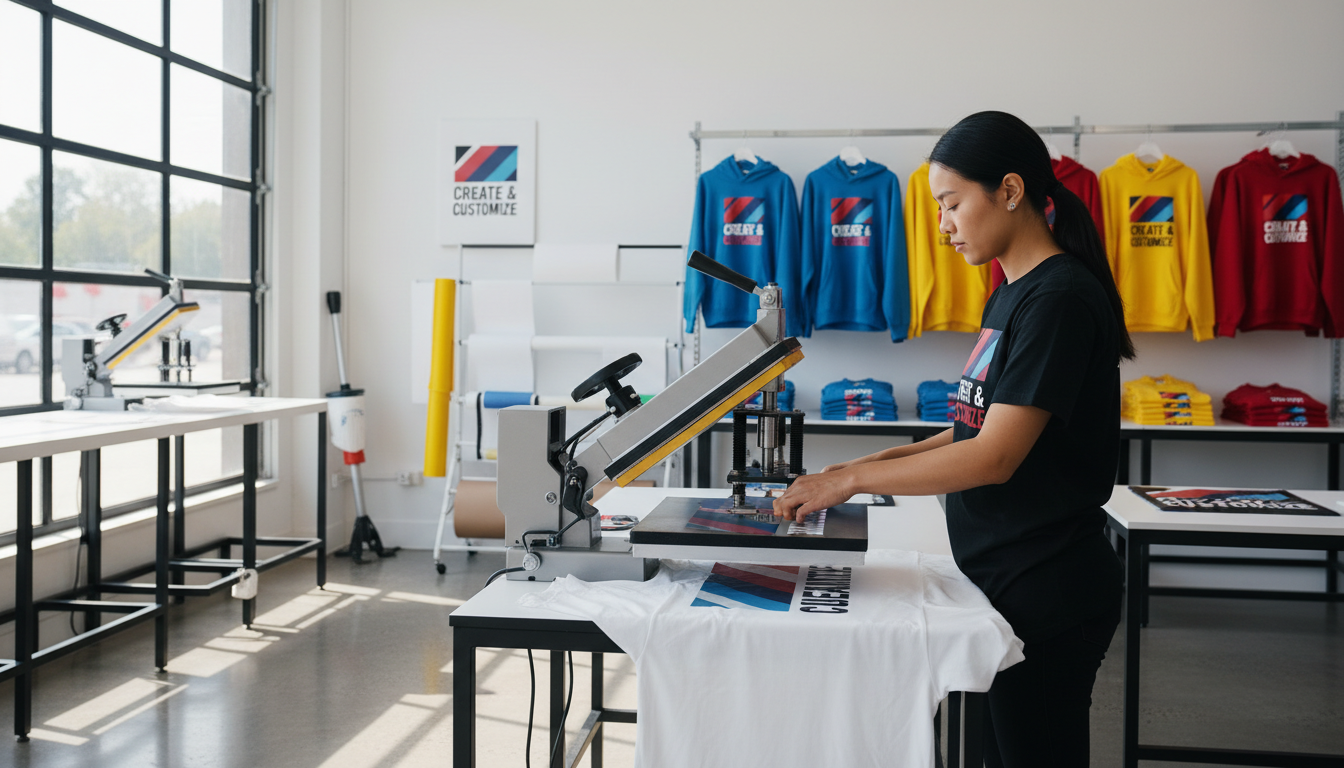
- Apply Heat and Pressure: Close the heat press and apply pressure for the recommended time.
- Remove the Paper: Carefully peel away the transfer paper to reveal your sublimated design.
Post-Printing Tips
After transferring the design, let the item cool down naturally. Inspect your work for any imperfections or areas needing touch-up. If you're working with fabric, it's a good idea to wash the item before use to ensure the design sets properly.
Common Mistakes and Troubleshooting
Beginners often encounter common mistakes, such as incorrect temperature settings or misaligned designs. If your prints lack vibrancy, check the quality of your sublimation ink and paper. Additionally, ensure the heat press pressure is adequate to avoid incomplete transfers.
Sublimation printing is a rewarding and creative process once you understand the basics. By following this guide, you'll be well on your way to producing vibrant, professional-quality prints. Happy printing!