A Beginner’s Guide to Setting Up a Home Photo Studio on a Budget


Creating Your Space
Setting up a home photo studio doesn't have to be an expensive endeavor. With a little creativity and planning, you can create a professional setup on a budget. The first step is to identify a suitable space in your home. It could be a spare room, a garage, or even a corner of your living room.
Ensure that the space you choose receives ample natural light. This will help reduce the need for expensive lighting equipment. Consider the background as well—plain walls or simple backdrops are ideal for starting out.
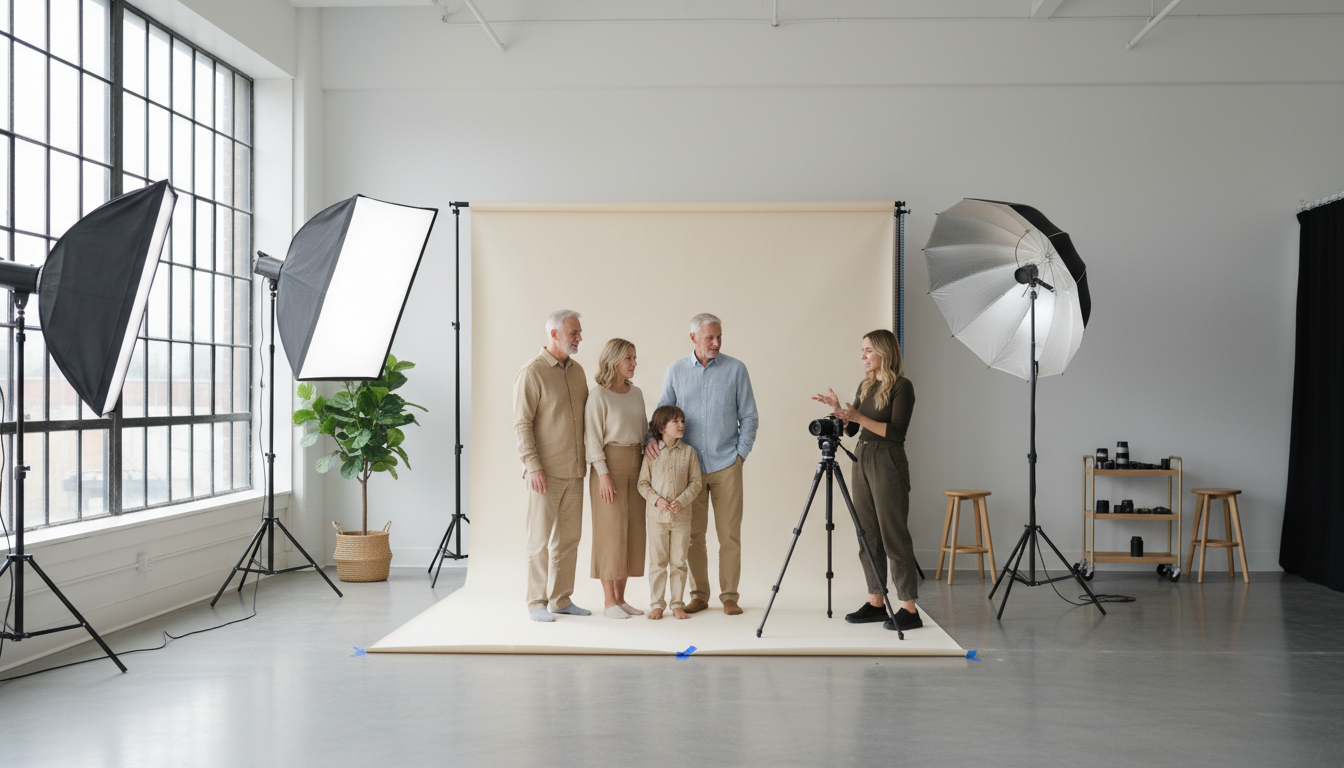
Essential Equipment
Once you've identified your space, it's time to gather the essential equipment. The good news is, you don’t need to break the bank. Start with a basic camera; even a smartphone with a good camera can suffice for beginners. A tripod is crucial for stability and can be found at affordable prices.
For lighting, consider using natural light as much as possible. However, if additional lighting is necessary, inexpensive LED lights or desk lamps can be a great alternative. Reflectors can also help manipulate light and can be made DIY-style using white poster board or aluminum foil.
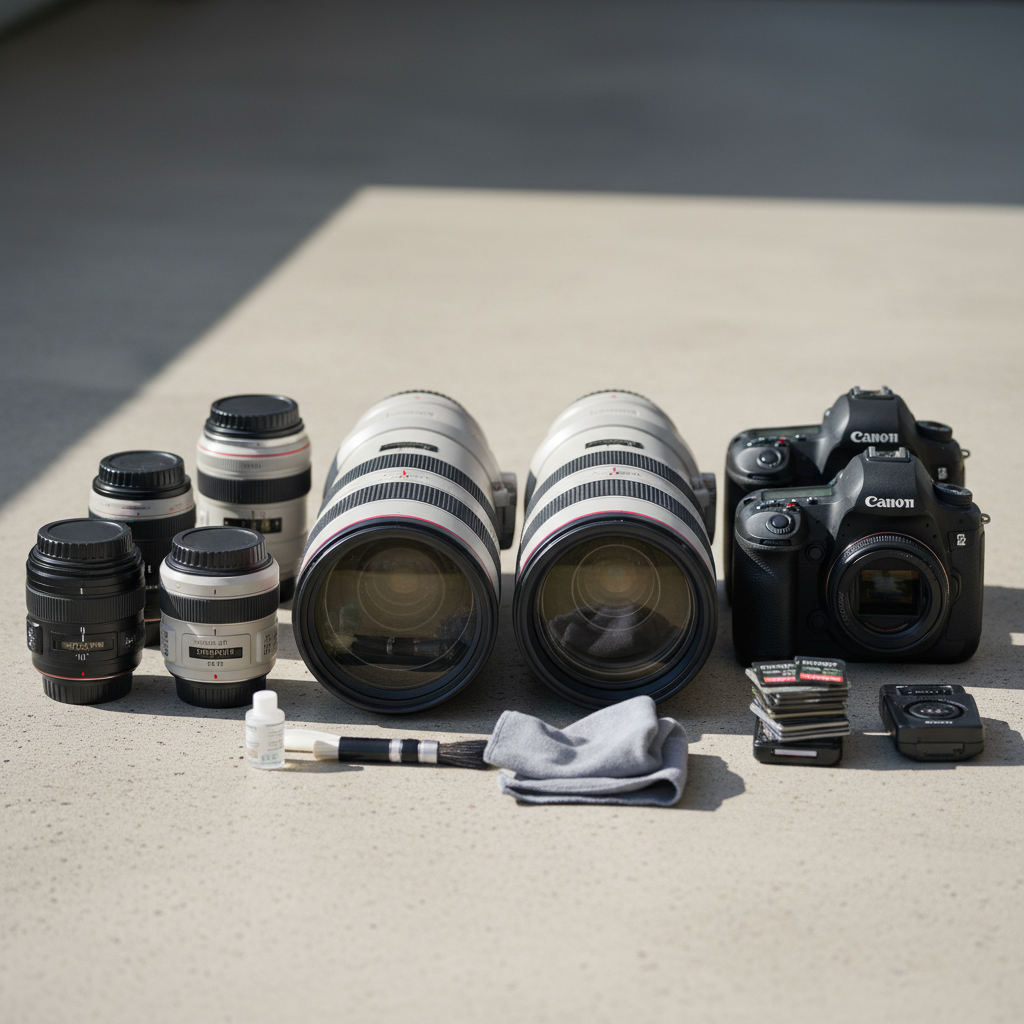
Backdrops and Props
Backdrops are an essential part of any photo studio. You can purchase affordable fabric backdrops or use items like plain bedsheets or curtains. For variety, consider painting plywood sheets in different colors or patterns.
Props can add creativity and interest to your photos. Look around your home for items that could be used creatively, such as plants, books, or simple furniture pieces. Thrift stores and garage sales are also excellent places to find unique props at low costs.
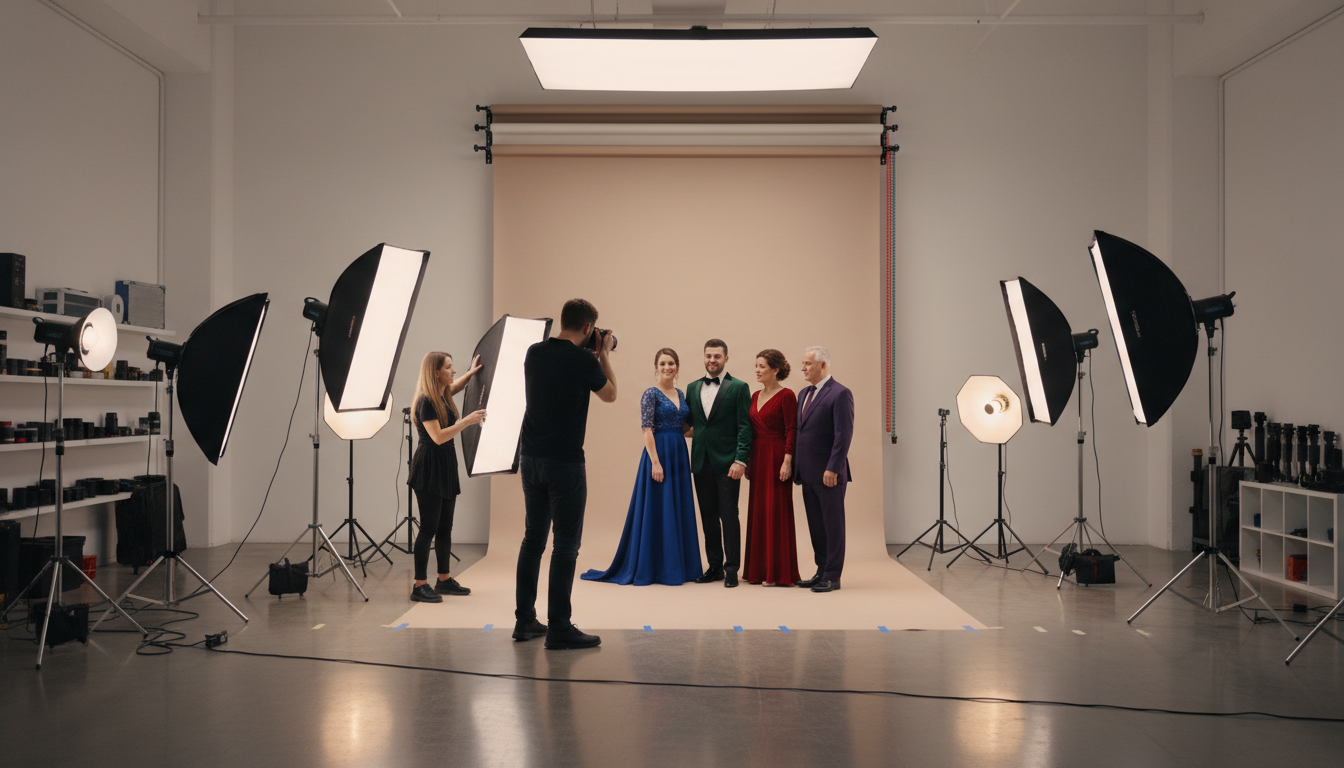
Organizing Your Studio
Organization is key to maintaining an efficient home studio. Keep your equipment and props neatly stored and easily accessible. Use shelves, storage bins, or pegboards to keep things tidy.
Consider creating a workflow plan to expedite your photo sessions. This could include setting up your equipment in advance and having a checklist of shots you want to capture. This will save you time and help maintain a smooth operation.
Post-Production on a Budget
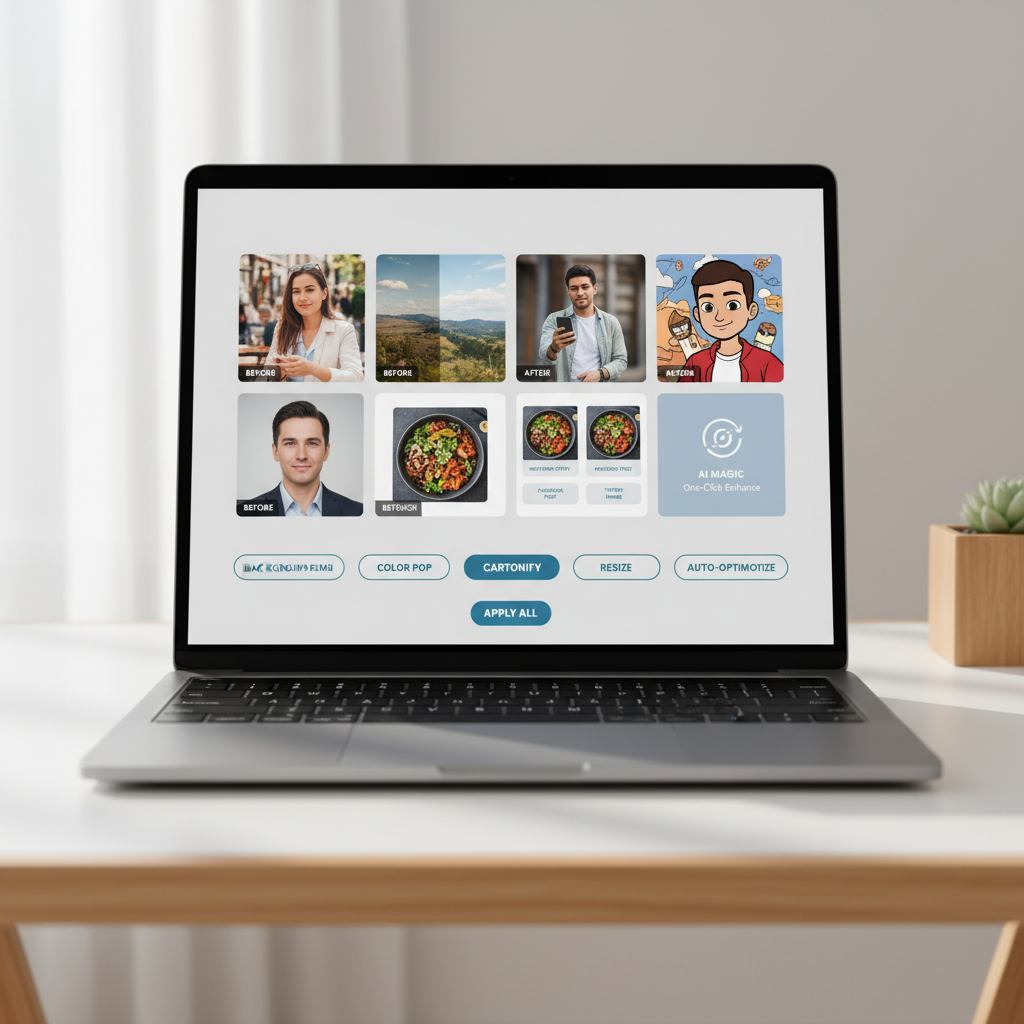
After capturing your images, post-production is the next step. There are various free or low-cost editing software options available, such as GIMP or Canva. These tools offer numerous features that can enhance your photos and give them a professional finish.
Spend time learning the basic editing techniques like cropping, color correction, and retouching. Online tutorials and forums can be valuable resources for improving your editing skills.
Conclusion
Setting up a home photo studio on a budget is entirely possible with a bit of planning and creativity. By utilizing existing resources and making smart purchases, you can create a functional and inspiring space for your photography projects.
Remember, the key is to start simple and gradually build up your studio as your skills and needs grow. Happy shooting!